Thursday, January 30, 2014

Plumbing

We have running water! This was the last major system to be installed and thanks to Joshua it's pretty much finished! Our three bowl sink (purchased from a friend several years ago) was a beast to plumb. It may not be the prettiest plumb job, but it works without leaks and that's what counts!


The shower is ready for use. The handheld shower head has an on/off switch. The water temperature is set so there is no need to plumb for hot and cold water. Just one water line. If we need to adjust the water temp, all we need to do is step outside and change the gauge on the hot water heater. 


The on demand hot water heater is mounted under the bus using a 2x4 and stabilized with zip ties. We are bordering on redneck here, but we have carefully avoided using duck tape. 


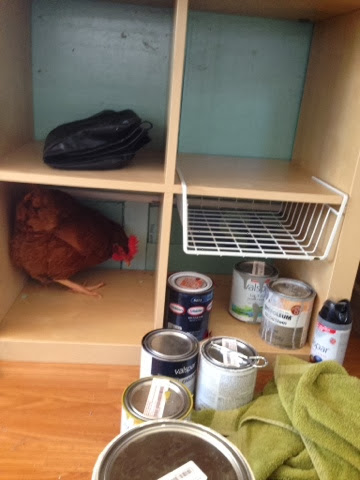
We did get the whole system inspected by the pickiest female we could find.  We think she approves. 


Tuesday, January 7, 2014

Odds and Ends

Sometimes it's the little things that bring the most joy. I don't know if that's always true, but we've had fun with each part of this bus project. 

I cut Antarctica off the globe and we turned it into a reading light over the couch.


We stripped all the vinyl and padding off the bus seats so we can recycle the metal and make a few dollars. 

Bye-bye nasty dirty, full of gum, seats!


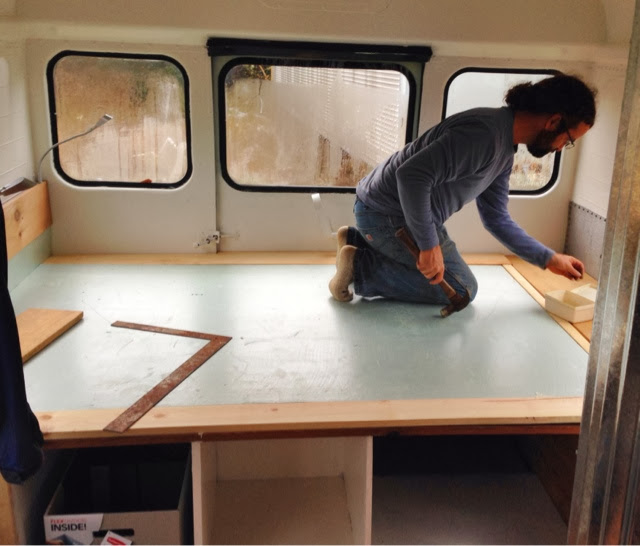
Joshua finished framing out the bed and surrounding storage areas. 


And then we brought home a mattress. It's cozy and we still have room to spare - just like we planned. 


Happy New Year to you!


Electricity

It's been a while since I posted an update. We enjoyed the holidays with family and friends and even got to show off our bus a few times. 

Joshua has been working on the AC electrical system for a few weekends. We will be running our refrigerator, microwave and other miscellaneous items off a standard power supply.  I am thankful that Joshua has a pretty good understanding of electricity and jumped right into the project. 


We installed surge protectors as outlets in 4 different areas: the kitchen, the music studio, the sewing studio and the bedroom. Joshua's dad, an electrician, came over to lend a hand and share some of his expertise! Thanks Dad!!!


The electric panel is installed in the cubby behind the refrigerator. 


Wednesday, December 25, 2013

Merry Christmas!

We wish you the best of Christmas joy! 
We braved the cold (35 degrees!) on Christmas Eve to spend our first night on the bus! The propane heater, small electric heater, 2 blankets, 1 quilt and a down comforter made for some good sleeping. Santa found us even without a chimney. 
It's been a cozy day getting acquainted with our tiny house on wheels. There's still plenty of work to do before we move in full time, but we can see the light at the end of the tunnel! 

Sunday, December 15, 2013

The Loo

Composting toilet. Yes. Those are THE words describing our toilet. The whole unit cost us about $20 and will require no water. We looked into incinerating toilets and commercial composting toilets, but for this beginning stage, we decided to go easy and cheap. 
The best part is not having to deal with a septic line around the wheel well. Joshua has been using scrap wood to create a cabinet of sorts to hold the bucket. (Don't you just love how our shower and toilet buckets match!!) 
As the platforms/steps came together, I drew out the patterns for the top pieces. The roofing tin around the shower creates such a crazy rippled effect, I felt like I was working on a wrapper for a Reese's Cup. 
Protected from the rain by a gigantic tarp, we cut all the intricate pieces for the platform. And no,the pictures don't quite show off the fit of the wood against the tin. There's just a few little details left to touch up and the throne will be complete! I'm feeling a fun, folk art paint job coming in this space. There's already chalkboard paint inside ready for graffiti. 
For those of you not quite sure about a composting toilet, think biodegradable liner for the bucket, a scoop of sawdust for every deposit and daily emptying. And quite possibly a lot of incense! 

Monday, December 2, 2013

The "LIST"

1. Finish shower surround
2. Finish toilet and toilet step.
3. Cubbies beside the bed. 
4. Shower plumbing supply line.
5. Light for the shower/toilet.
6. Propane line for cook top. 
7. Mount cooktop.
8. Install fan over range.
9. Install electrical panel/outlets.
10. Cabinet anchors.
11. Finish installing dc lights on driver's side.
12. Install globe light over couch.
13. Sew curtains.
14. Complete sink drain and water supply.
15. Carpet/insulation under and around driver area
16. Table leg/support for music studio table.
17. Touch up cabinet paint.
18. Install cabinet hardware.
19. Curtain rod and trim board. 
20. Sofa anchors. 
21. Refrigerator/microwave anchor.
22. Water heater installation.
23. Lock on front door.
24. Under bus: water supply, drains, battery box and wiring.
25. CLEAN! 


Sunday, December 1, 2013

Getting cleaned up!

How would you put a functional shower on a school bus? Most shower stalls are over 6 feet tall - that's our max height! Our inspiration came from a beautiful shower in a tiny house created out of an old wine barrel.


Nope. No wine barrel for us. A galvanized metal feed trough will do just fine! And hopefully, it will be less permeable than wood. We drilled through the floor of the trough and the bus to install the drain, which will connect to a flexible pipe. It will be able to drain into a holding tank or a RV septic system. (Gray water is also great for watering plants)


Joshua used roofing tin to create a shower surround. We will be treating the raw edges of metal with silicone to help ward off rust. The pipe frames the sides of the opening into the shower and will hold the shower rod.


We're still figuring out the fixtures and plumbing parts. Due to the height constrains, a hand-held nozzle with an on/off switch seems like the best solution. Stay tuned!